
This article covers the USB Rollo on Windows 10 and Windows 11. The Wireless Rollo can also be used over USB without the driver if you only print 4x6 labels, but you have to download the same driver if you need to print other label sizes.
To set up a Rollo on Windows, download the Rollo Windows driver from rollo.com/setup-usb, run the installer as administrator with the USB cable unplugged, then connect the printer, calibrate it, and print a test label. The whole process takes about five minutes.
Before you start: check your computer
1. Open Settings, then System, then About.
2. Check the System type line. The Rollo driver works on 32-bit and 64-bit Windows running on x86 processors. If it says ARM-based processor (Snapdragon, common on Surface devices and some newer laptops), skip to the ARM section below.
3. Check the Edition line. If it includes "in S mode," Windows will block the installer. See the S mode section below.
Install the driver
1. Leave the printer's USB cable unplugged from your computer for now. Plug the printer's power adapter directly into a wall outlet.
2. Download the latest version of the Rollo USB Printer's Windows Driver from this link.
3. Depending on your browser settings, it will be saved to your default download location. The file name is "Rollo-Windows-Latest."
4. For security reasons, the driver file is placed within the zip file. Please extract/open /run the installer within this zip file and follow the installer steps.
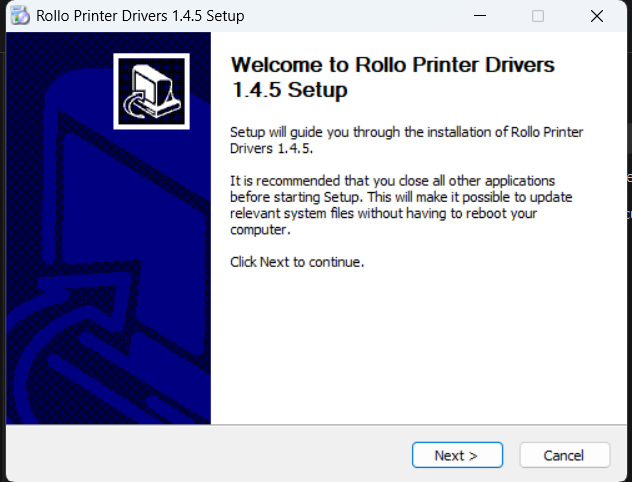
5. After installation, please go to your Windows Printers, and you should now see "Rollo Printer."
6. If the installer fails partway, restart your computer and run it again as administrator.
Load labels and calibrate
1. Turn the printer on with the switch at the back.
2. Feed your label roll or stack through the slot at the back of the printer, peelable (printable) side facing up. Load the roll or stack, not a single cut label.
3. Press and hold the circular button on top until you hear one beep, then let go. The labels move back and forth and stop at the tear-off point. It may feed one or two blank labels, which is normal. You can re-feed those to avoid waste.
4. Press and hold the circular button again until you hear two beeps, then let go. The printer prints a self-test page. If it prints clearly, the printer side is ready.
Connect and print a test label
1. Plug the USB cable from the printer into your computer.
2. Open Settings, then Bluetooth & devices, then Printers & scanners, and confirm the Rollo Printer is listed.
3. Go to rollo.com/sample and print the sample label. Select the Rollo Printer and the 4 x 6 label size (100 x 150 mm).
4. If nothing prints or the printer does not appear, unplug the USB cable, plug it into a different USB port, and try again.
ARM computers (Snapdragon, Surface, tablets)
The standard driver shows a DPInst.exe error on ARM-based computers. Please contact Rollo Support for alternative solutions.
Windows in S mode
S mode only allows Microsoft Store apps, so the Rollo installer will not run. To install the driver, you must switch out of S mode first, using Microsoft's official guide (search "switching out of S mode" on support.microsoft.com). Switching is free but one-way, so it cannot be undone. After switching, run the installer again from the steps above.
To create custom-sized labels, please see this link.
Still stuck? Reach out to our team through chat support and we will walk you through it.